Hey Sunshine!
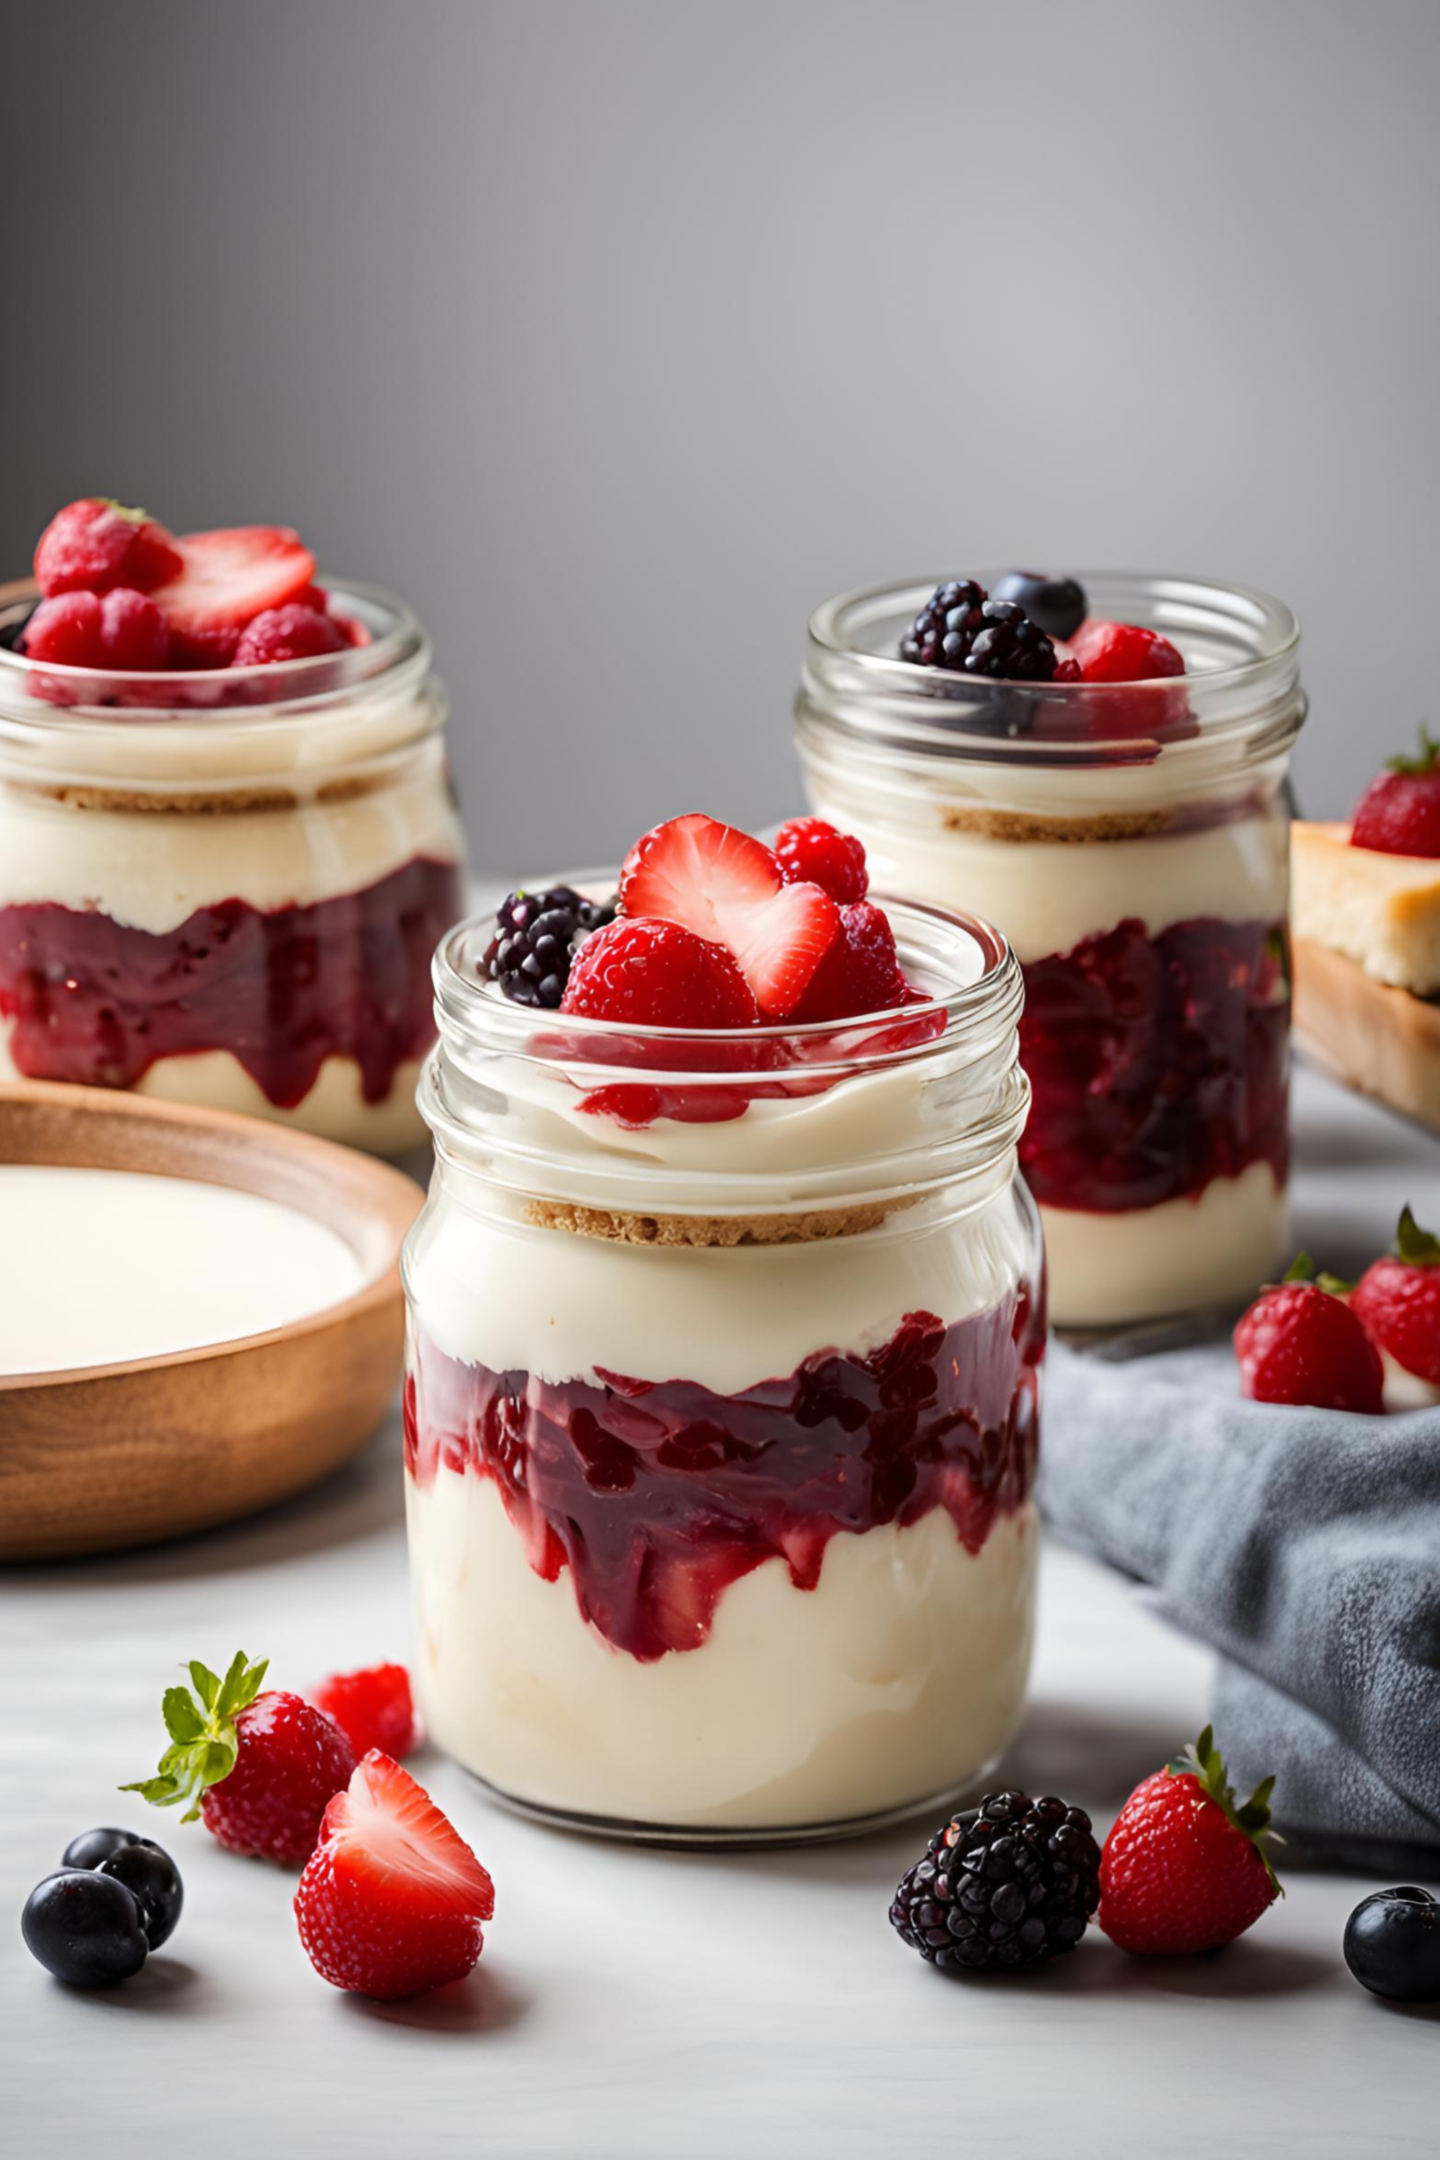
When you’re in the mood for a delicious dessert but don’t want to spend hours in the kitchen, no-bake cheesecake jars are the perfect solution. These delightful treats are not only easy to make but also incredibly versatile and perfect for any occasion. Whether you’re hosting a dinner party, celebrating a special event, or simply craving something sweet, these no-bake cheesecake jars are sure to impress.
Table of Contents
Why You’ll Love No-Bake Cheesecake Jars
- Easy to Make: With no baking required, these cheesecake jars are simple and quick to prepare.
- Portion Control: Served in individual jars, they offer perfect portion control and a beautiful presentation.
- Customizable: You can personalize them with your favorite flavors and toppings.
- Make-Ahead Dessert: These jars can be prepared in advance, making them perfect for parties and gatherings.
- Delicious and Creamy: The rich and creamy cheesecake filling paired with a crunchy crust is a match made in dessert heaven.
Ingredients
For the Crust:
- 1 1/2 cups graham cracker crumbs
- 1/4 cup granulated sugar
- 1/2 cup melted butter
For the Cheesecake Filling:
- 16 oz cream cheese, softened
- 1 cup powdered sugar
- 1 tsp vanilla extract
- 1 cup heavy whipping cream
Toppings (Optional):
- Fresh berries
- Chocolate shavings
- Caramel sauce
- Crushed nuts
Instructions
Step 1: Prepare the Crust
- In a medium bowl, mix the graham cracker crumbs, sugar, and melted butter until well combined.
- Spoon the mixture into the bottom of each jar, pressing it down with the back of a spoon to create an even layer.
Step 2: Make the Cheesecake Filling
- In a large mixing bowl, beat the softened cream cheese until smooth.
- Add the powdered sugar and vanilla extract, and continue to beat until well combined and creamy.
- In a separate bowl, whip the heavy cream until stiff peaks form.
- Gently fold the whipped cream into the cream cheese mixture until fully incorporated.
Step 3: Assemble the Cheesecake Jars
- Spoon the cheesecake filling over the crust layer in each jar, filling them about three-quarters full.
- Smooth the tops with the back of a spoon or a small spatula.
Step 4: Add Toppings
- Top each cheesecake jar with your favorite toppings, such as fresh berries, chocolate shavings, caramel sauce, or crushed nuts.
Step 5: Chill and Serve
- Place the jars in the refrigerator for at least 2 hours, or until the cheesecake filling is firm.
- Serve chilled and enjoy!
FAQ
Can I make No-Bake Cheesecake Jars ahead of time?
- Yes! These cheesecake jars can be made up to 2 days in advance. Simply prepare them as directed, cover, and store in the refrigerator until ready to serve. This makes them perfect for parties and gatherings.
How do I store No-Bake Cheesecake Jars?
- Store them in the refrigerator. Keep your cheesecake jars covered with lids or plastic wrap and store them in the refrigerator for up to 3-4 days. This helps maintain their freshness and creamy texture.
Can I use different types of fruit toppings?
- Absolutely! You can customize your cheesecake jars with any fruit toppings you like. Fresh berries, sliced peaches, mango, or a combination of fruits work wonderfully. You can also use fruit preserves or compotes for added variety.
What if I don’t have jars?
- No problem! If you don’t have jars, you can use small dessert cups, ramekins, or even clear plastic cups. The presentation might differ slightly, but the deliciousness remains the same.
Can I make these cheesecake jars gluten-free?
- Yes, you can! To make these cheesecake jars gluten-free, simply substitute the graham crackers with gluten-free graham crackers or cookies. The rest of the ingredients are typically gluten-free, but always check labels to be sure.
Tips for Making the Perfect No-Bake Cheesecake Jars
- Room Temperature Cream Cheese: Make sure your cream cheese is softened to avoid lumps in your filling.
- Whipping the Cream: Ensure the heavy cream is whipped to stiff peaks for a light and airy cheesecake filling.
- Chill Time: Allow enough time for the jars to chill and set properly in the refrigerator.
- Get Creative: Experiment with different crusts, fillings, and toppings to create your own unique variations.
Conclusion
No-bake cheesecake jars are the ultimate sweet treat that combines ease, flavor, and elegance. They’re perfect for any occasion and can be customized to suit your taste preferences. With their creamy filling and crunchy crust, these jars are sure to become a favorite dessert in your household. So, grab your jars and ingredients, and treat yourself to this delightful, no-bake dessert. Enjoy, Sunshine!
Much Love & Sunshine,